FIOR & GENTZ
Gesellschaft für Entwicklung und Vertrieb von orthopädietechnischen Systemen mbH
Dorette-von-Stern-Straße 5
D-21337 Lüneburg
Tel.: +49 4131 24445-0
Fax: +49 4131 24445-57
E-Mail: info(at)fior-gentz.de
Beratung und Technischer Support

Physical Exam
for MS Patients
Multiple sclerosis is a disease with a progression that is individual and difficult to predict. Therefore, certain aspects must be considered in the orthotic treatment of MS patients in order to achieve the best possible treatment result for the patient. An important factor in the physical exam is the consideration of muscular fatigue. In this online tutorial, you will first collect the patient data including the muscle strength without taking muscular fatigue into account. The muscle strength is assessed again after the state of fatigue has been reached.
In the Orthotic Treatment Sheet for MS Patients, you can record the data collected during this physical exam.
In our MS Guide, you will also find a concept for the physical exam and orthotic treatment of patients with multiple sclerosis.
-
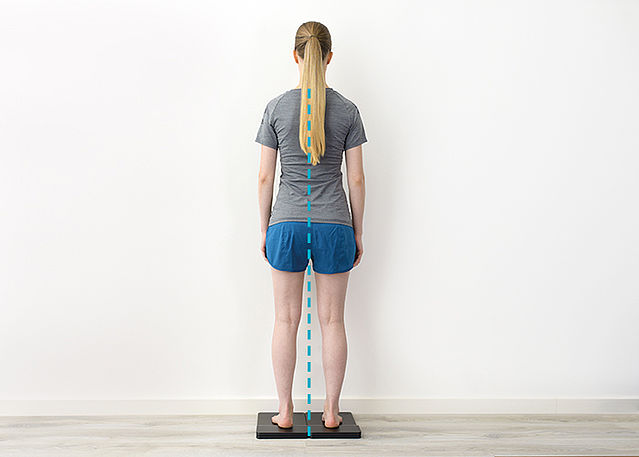
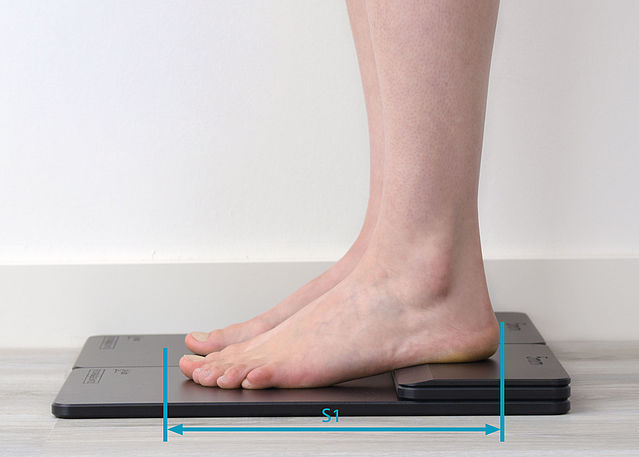
Body Weight and Height
-
Step 1/2

Step 2/2


-
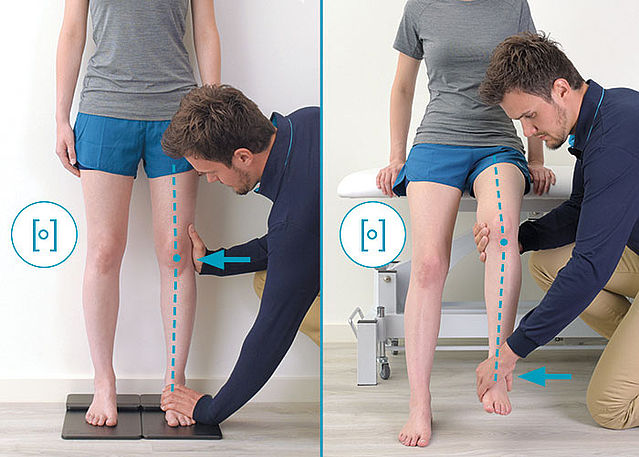
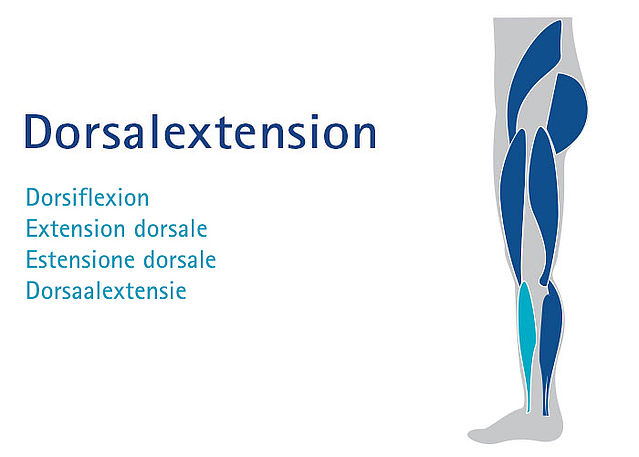
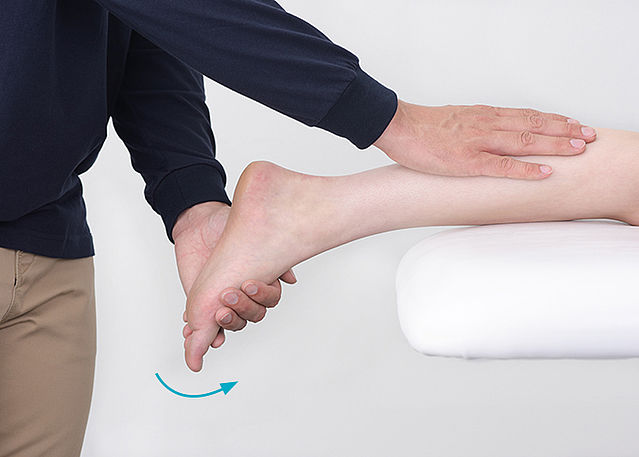
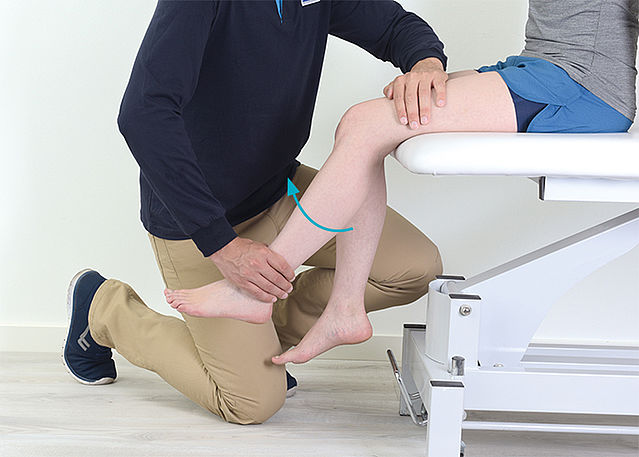
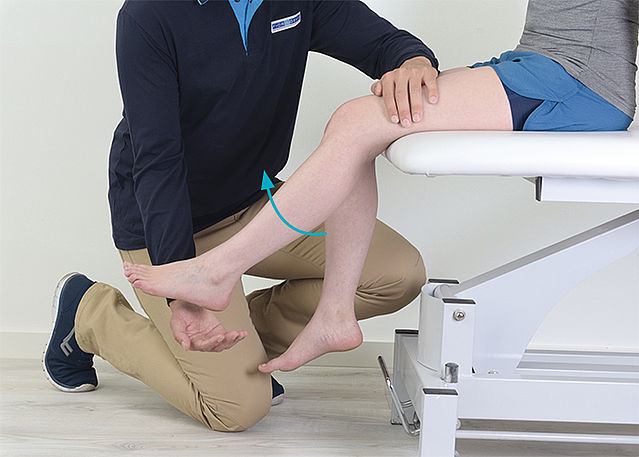
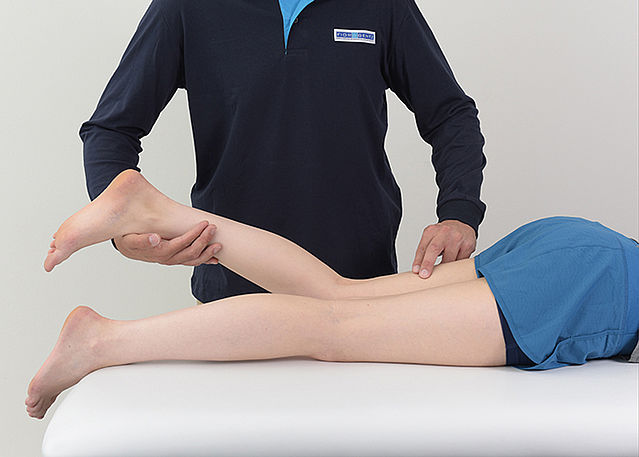
Range of Motion in the Upper Ankle Joint
-
Step 1/7
Step 2/7
Step 3/7
Step 4/7
Step 5/7
Step 6/7
Step 7/7


-
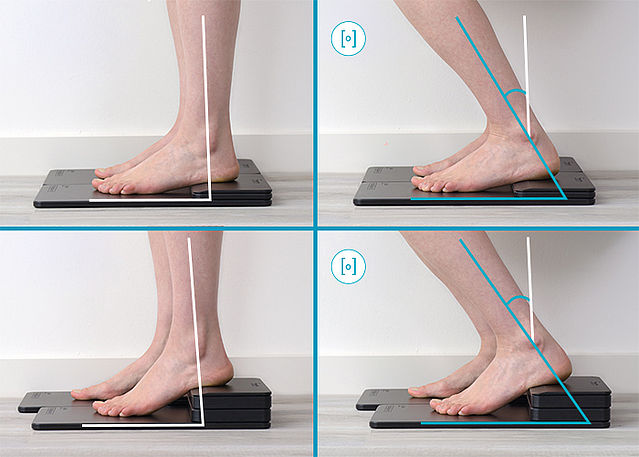
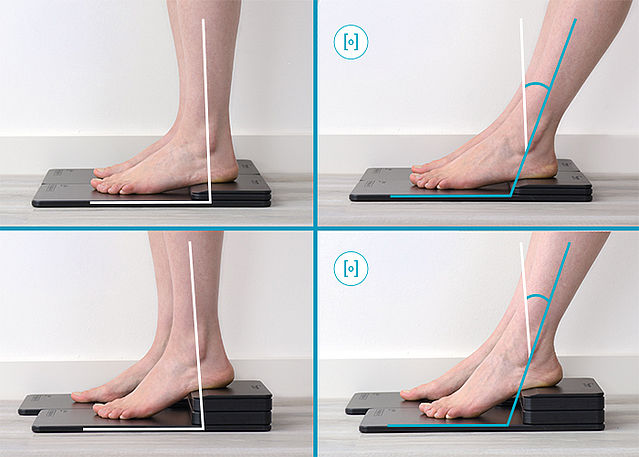
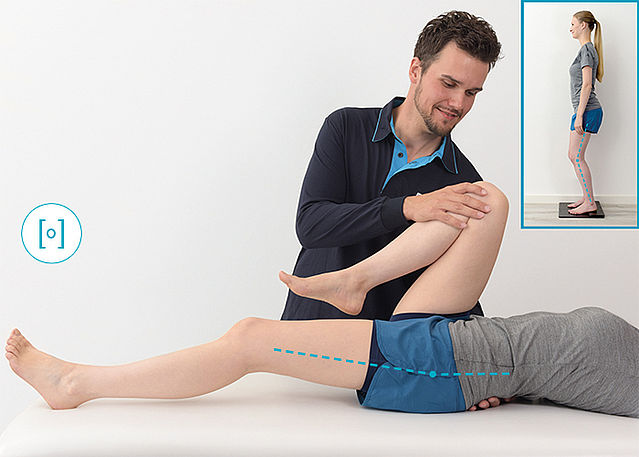
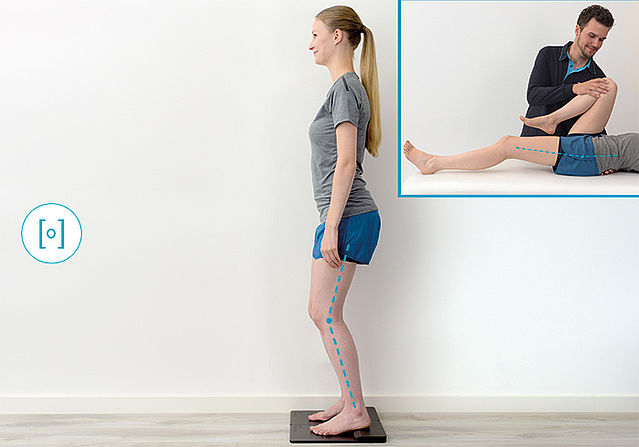
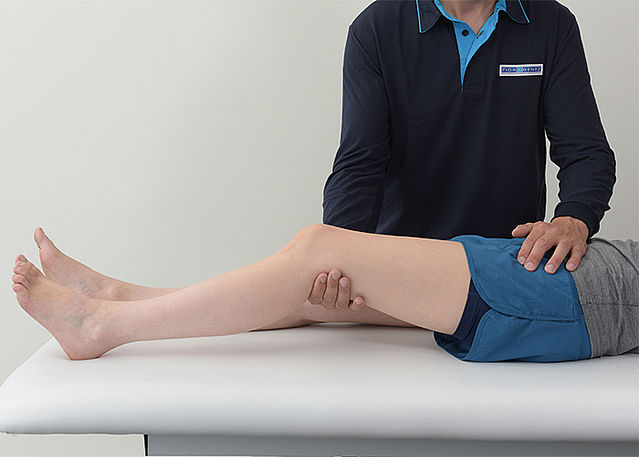
Joint Angles
-
Step 1/6
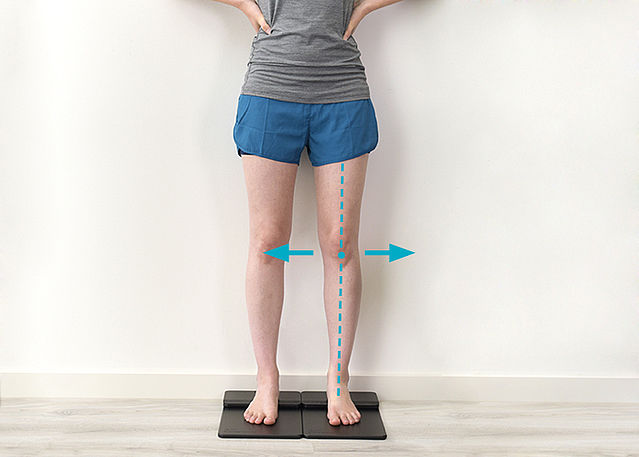
Step 2/6
Step 3/6
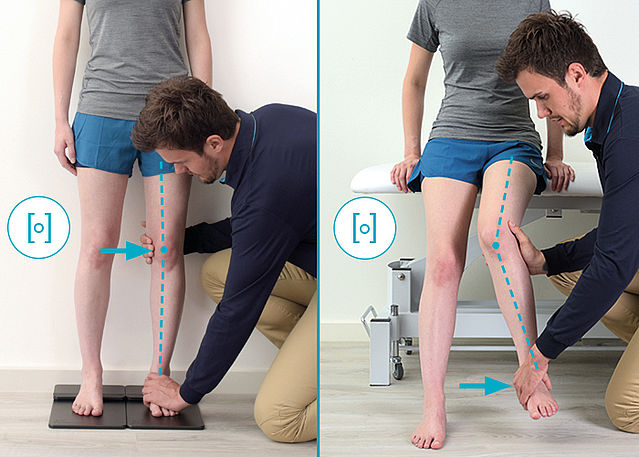
Step 4/6
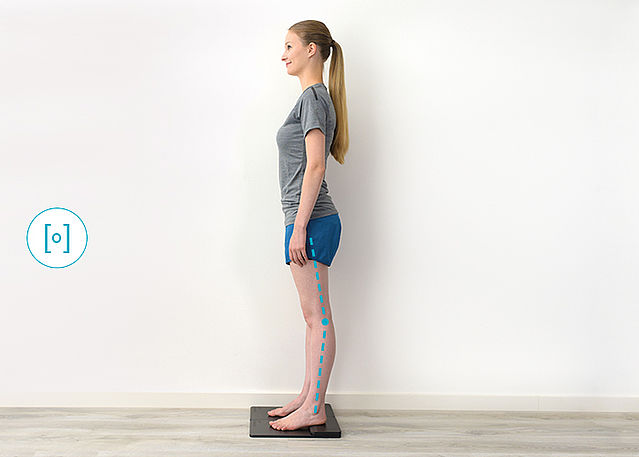
Step 5/6
Step 6/6


-
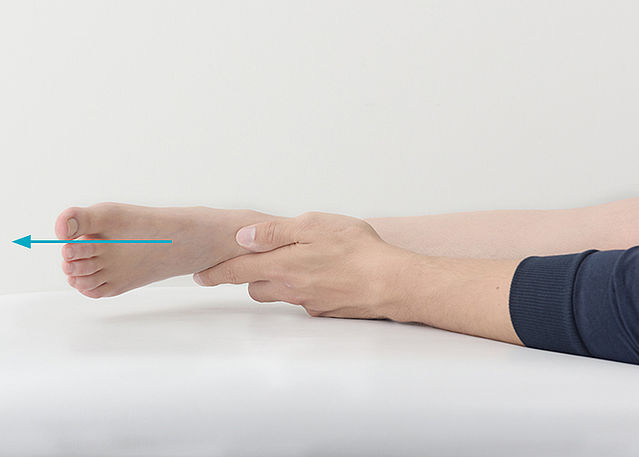
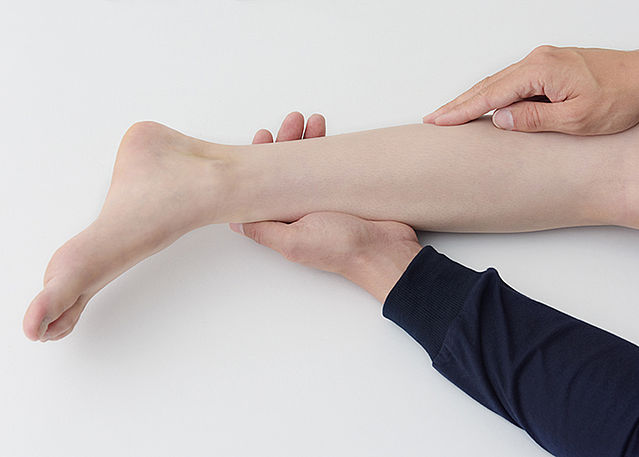
Muscle Strength – Foot
-
Step 1/10
Step 2/10
Step 3/10
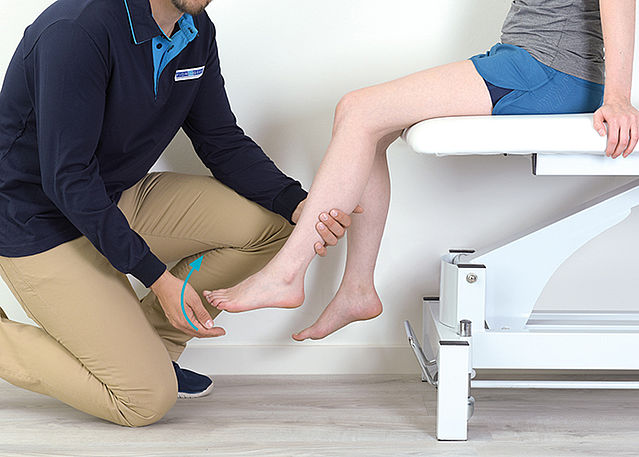
Step 4/10

Step 5/10
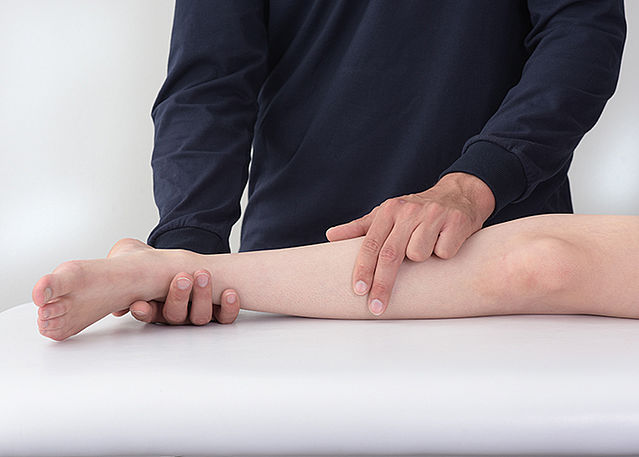
Step 6/10
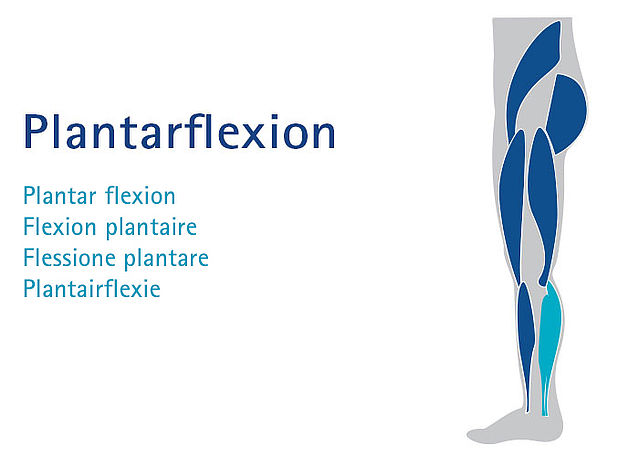
Step 7/10
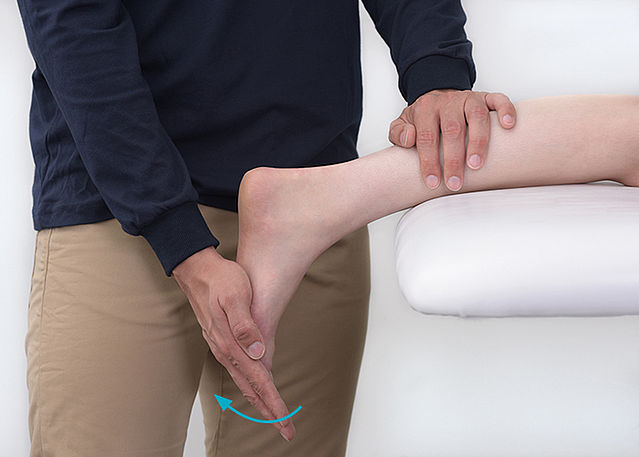
Step 8/10
Step 9/10
Step 10/10


-
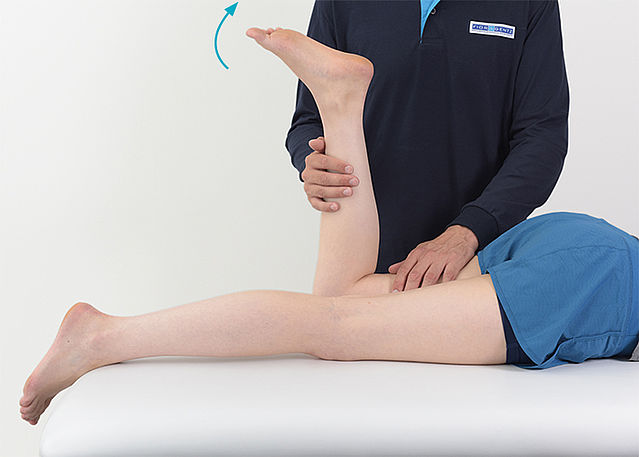
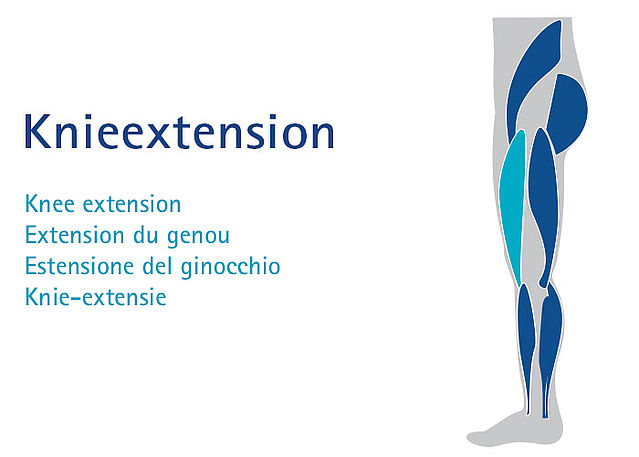
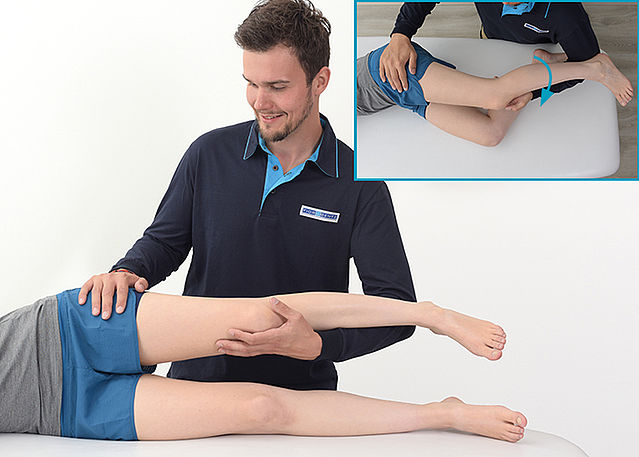
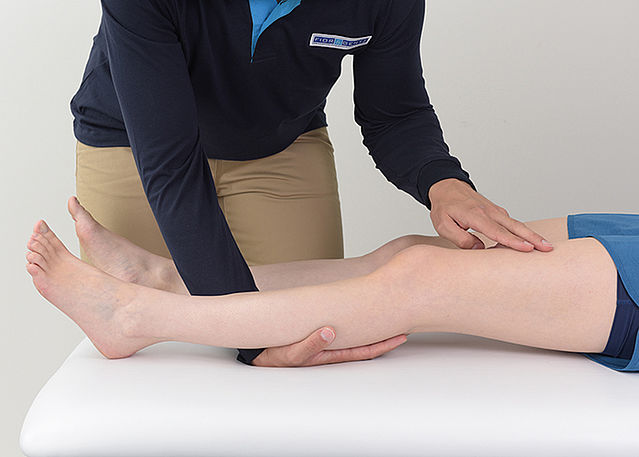
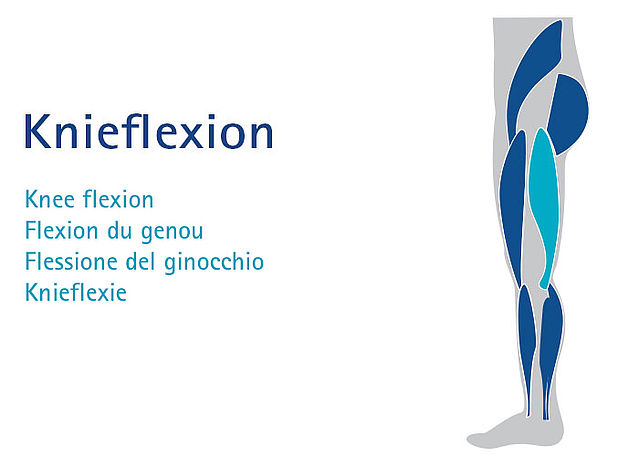
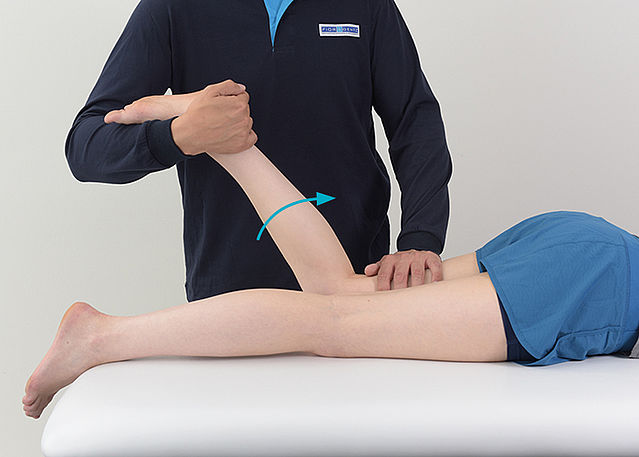
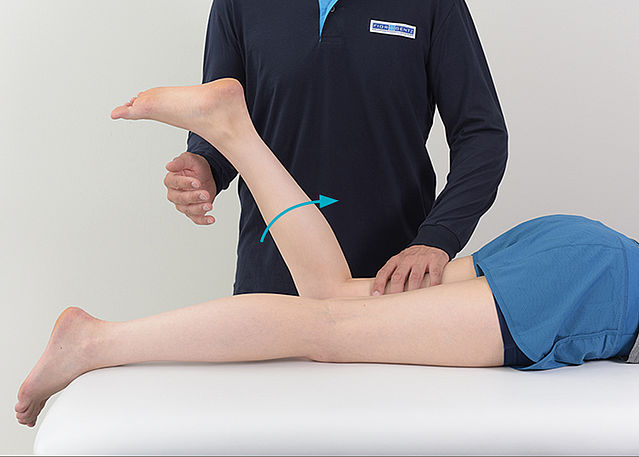
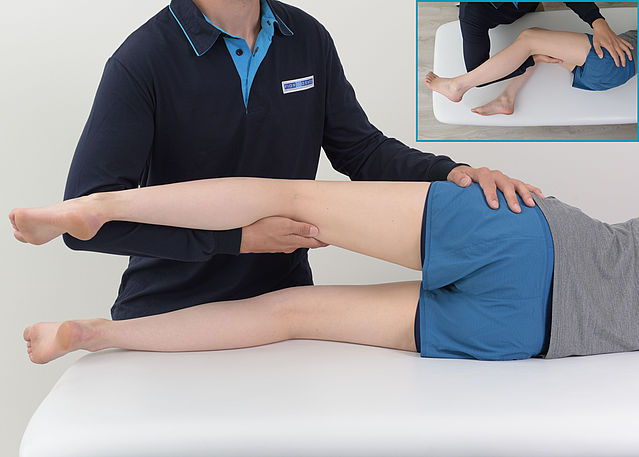
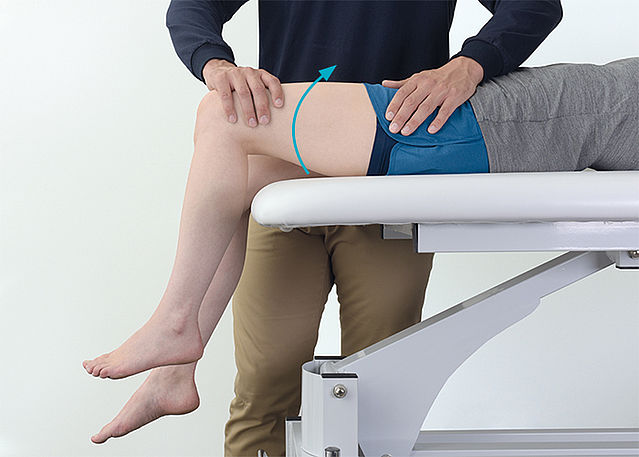
Muscle Strength – Knee
-
Step 1/10
Step 2/10
Step 3/10
Step 4/10
Step 5/10
Step 6/10
Step 7/10
Step 8/10
Step 9/10
Step 10/10


-
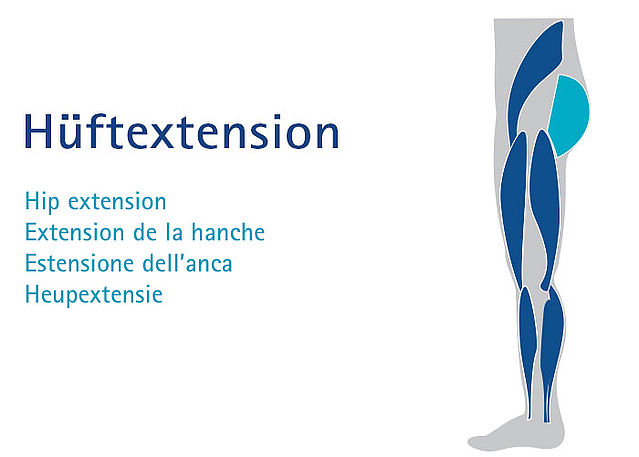
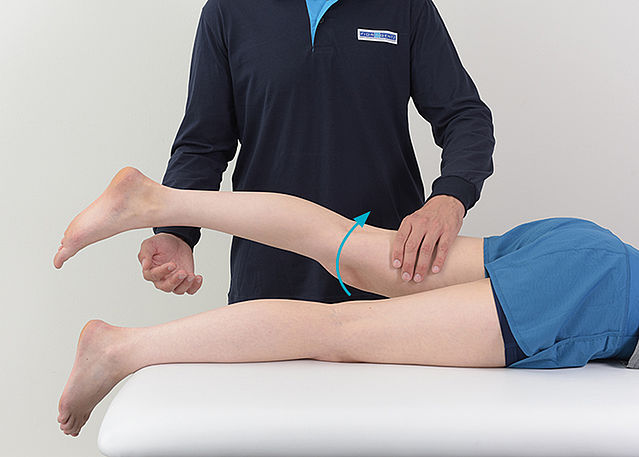
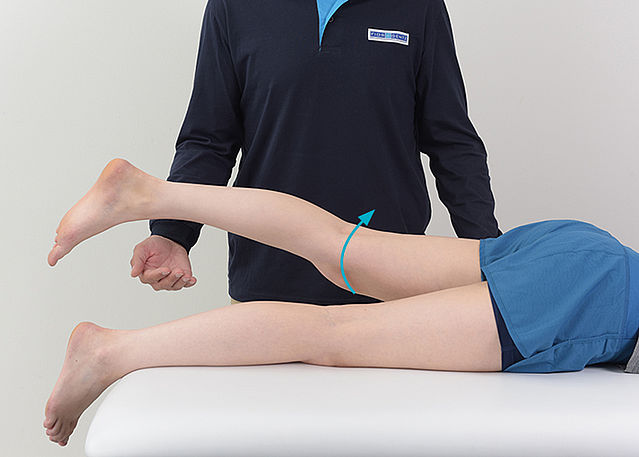
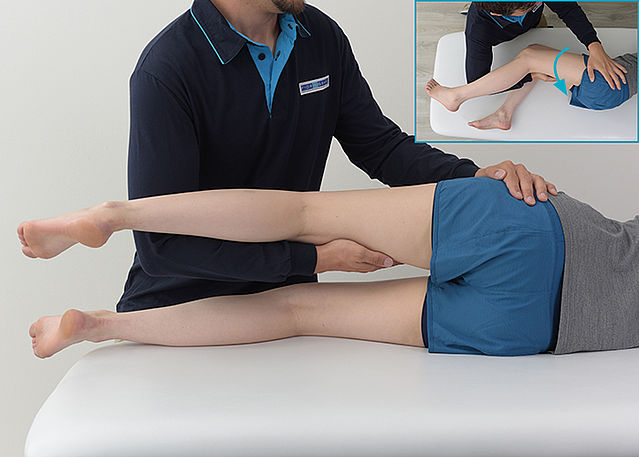
Muscle Strength – Hip
-
Step 1/10

Step 2/10
Step 3/10

Step 4/10
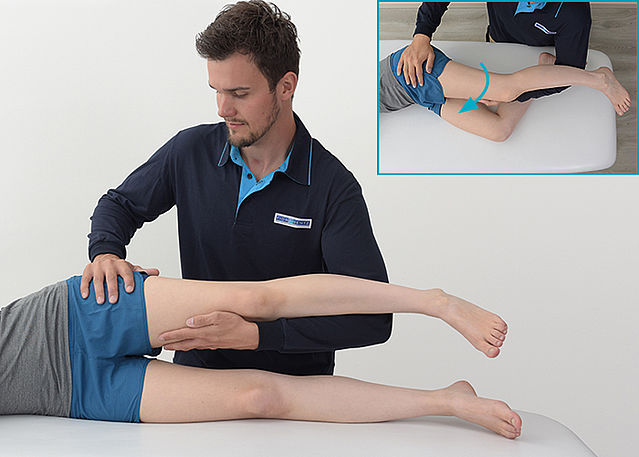
Step 5/10
Step 6/10
Step 7/10
Step 8/10
Step 9/10
Step 10/10


-
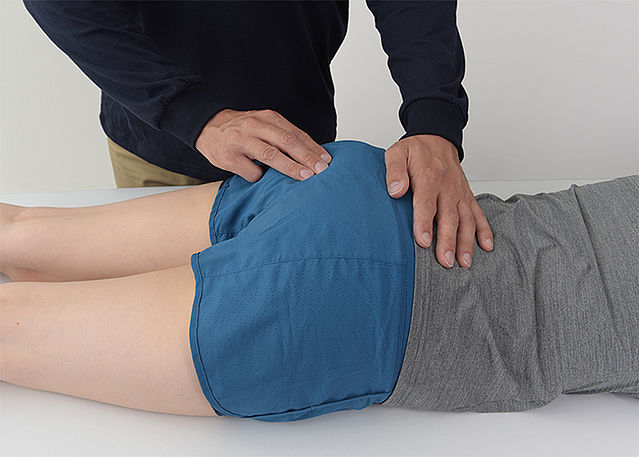
Muscular Fatigue and Repetition of Muscle Function Test
-
Step 1/1
-
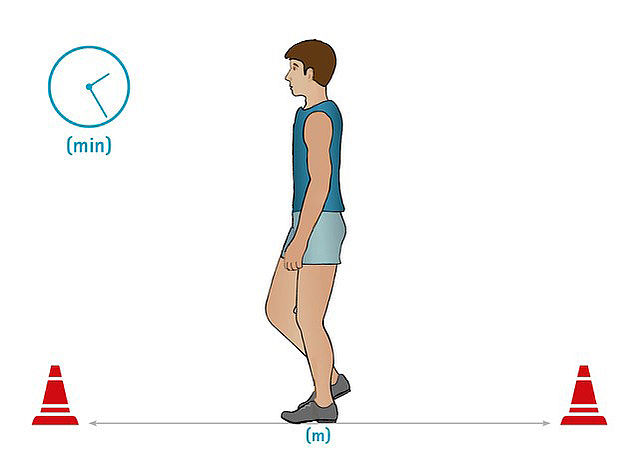
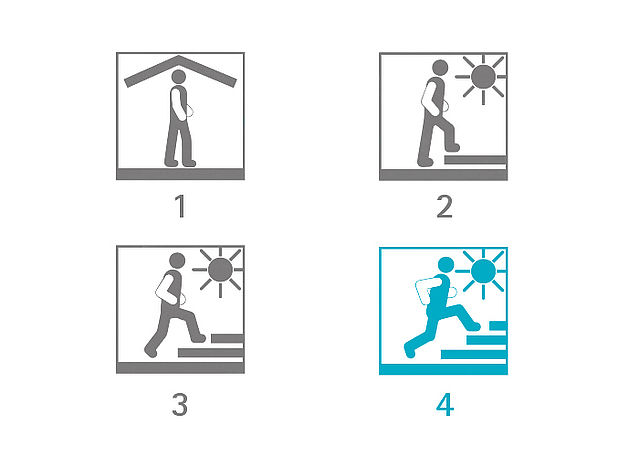
Activity Level
-
Step 1/5
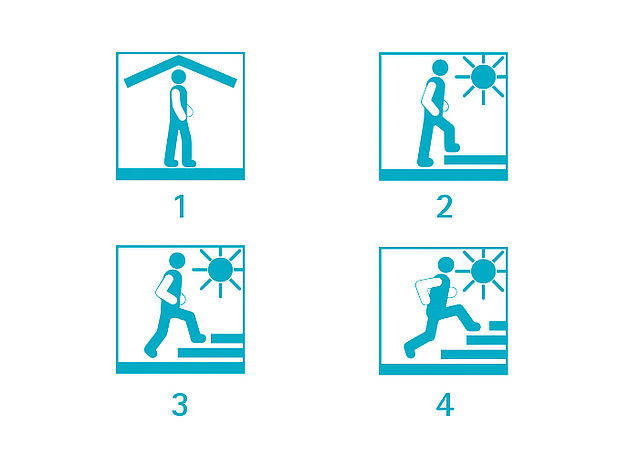
Step 2/5
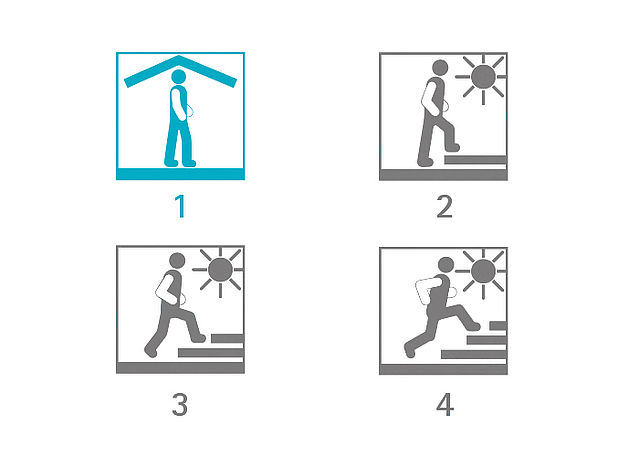
Step 3/5
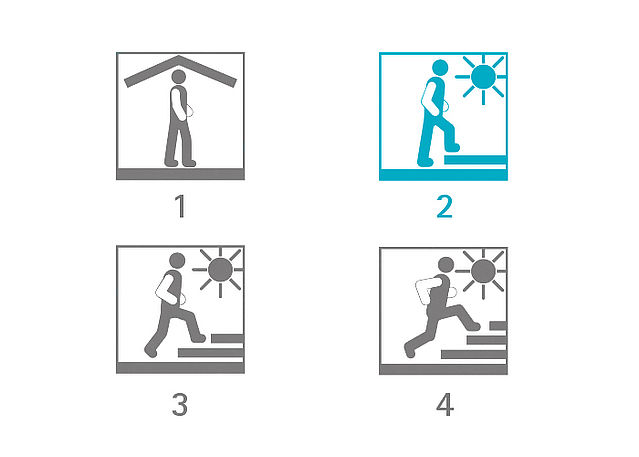
Step 4/5
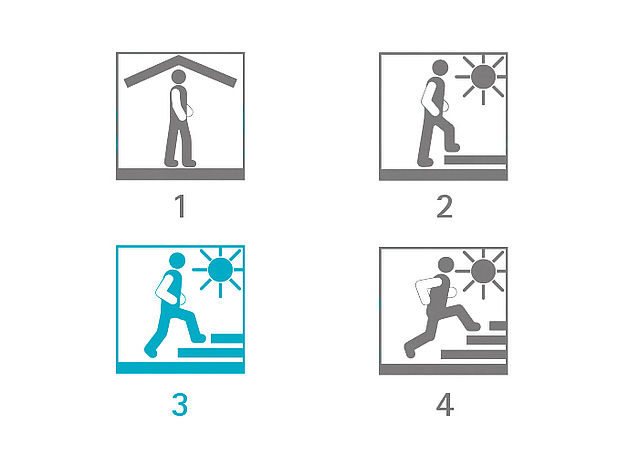
Step 5/5


-
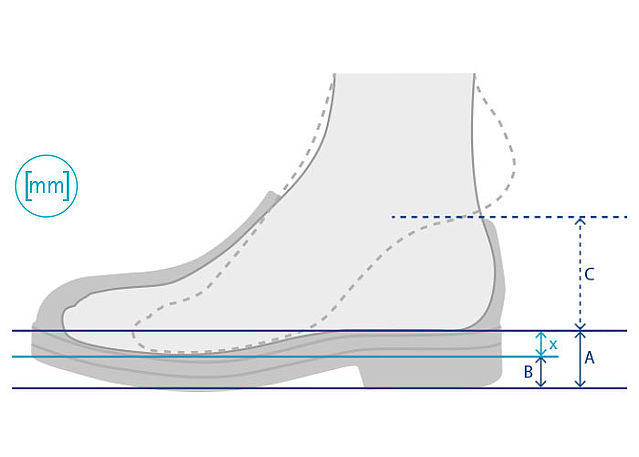
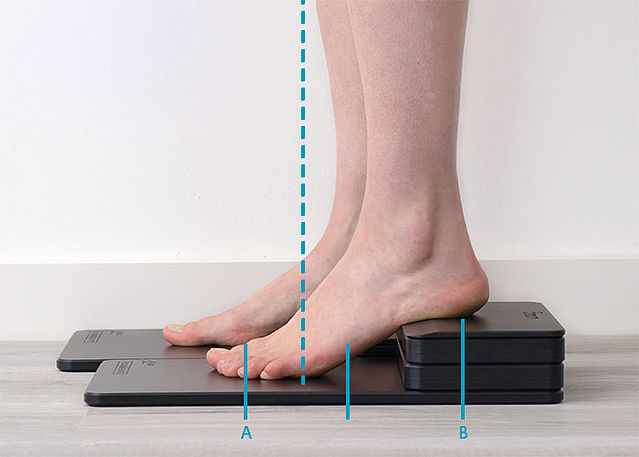
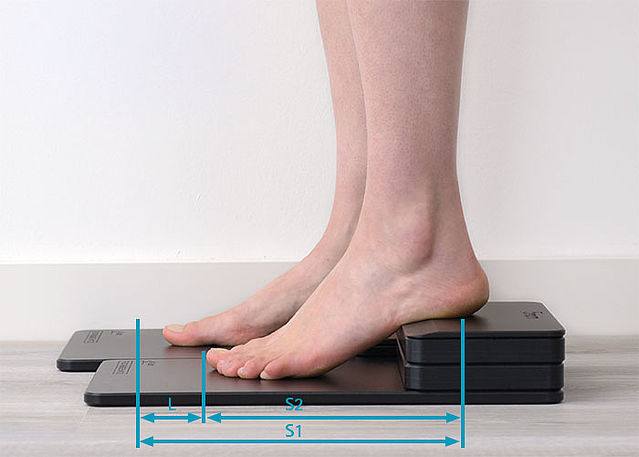
Ap Measurement
-
Step 1/1

Last Update: 17 June 2020
FIOR & GENTZ
Gesellschaft für Entwicklung und Vertrieb von orthopädietechnischen Systemen mbH
Dorette-von-Stern-Straße 5
D-21337 Lüneburg
Tel.: +49 4131 24445-0
Fax: +49 4131 24445-57
E-Mail: info(at)fior-gentz.de
Beratung und Technischer Support